
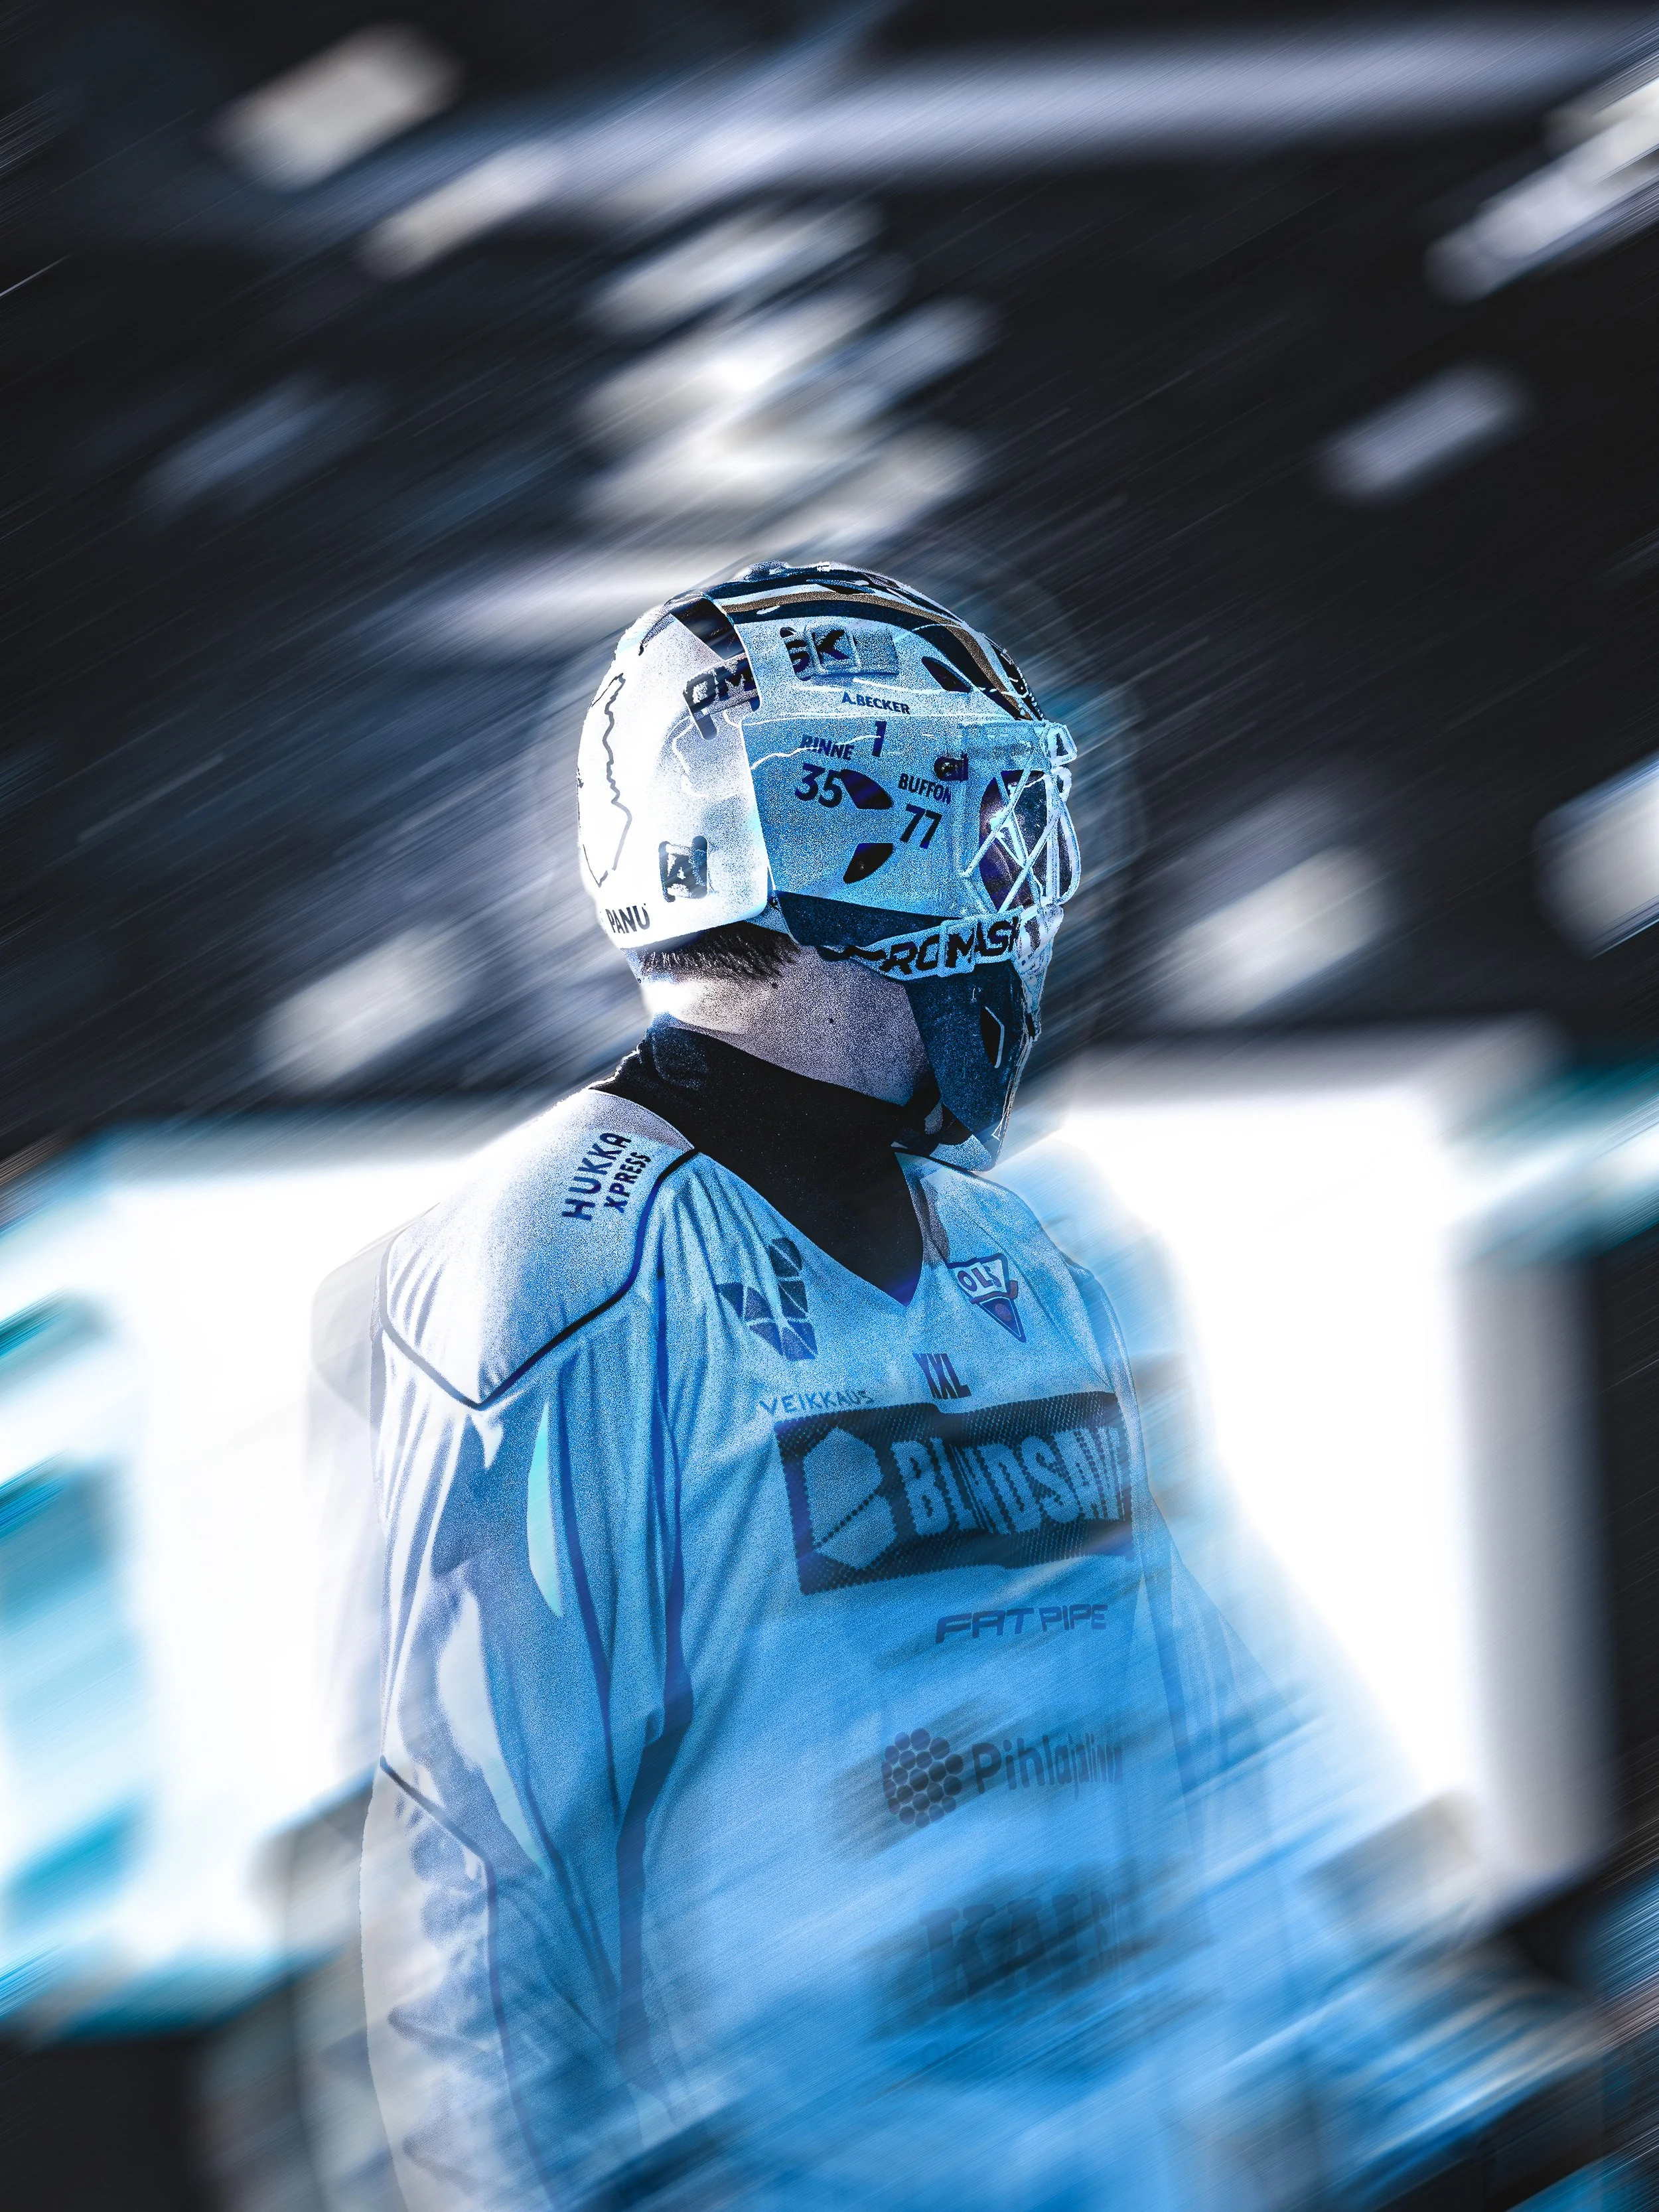
The Power of Editing
rundown how i edited this photo
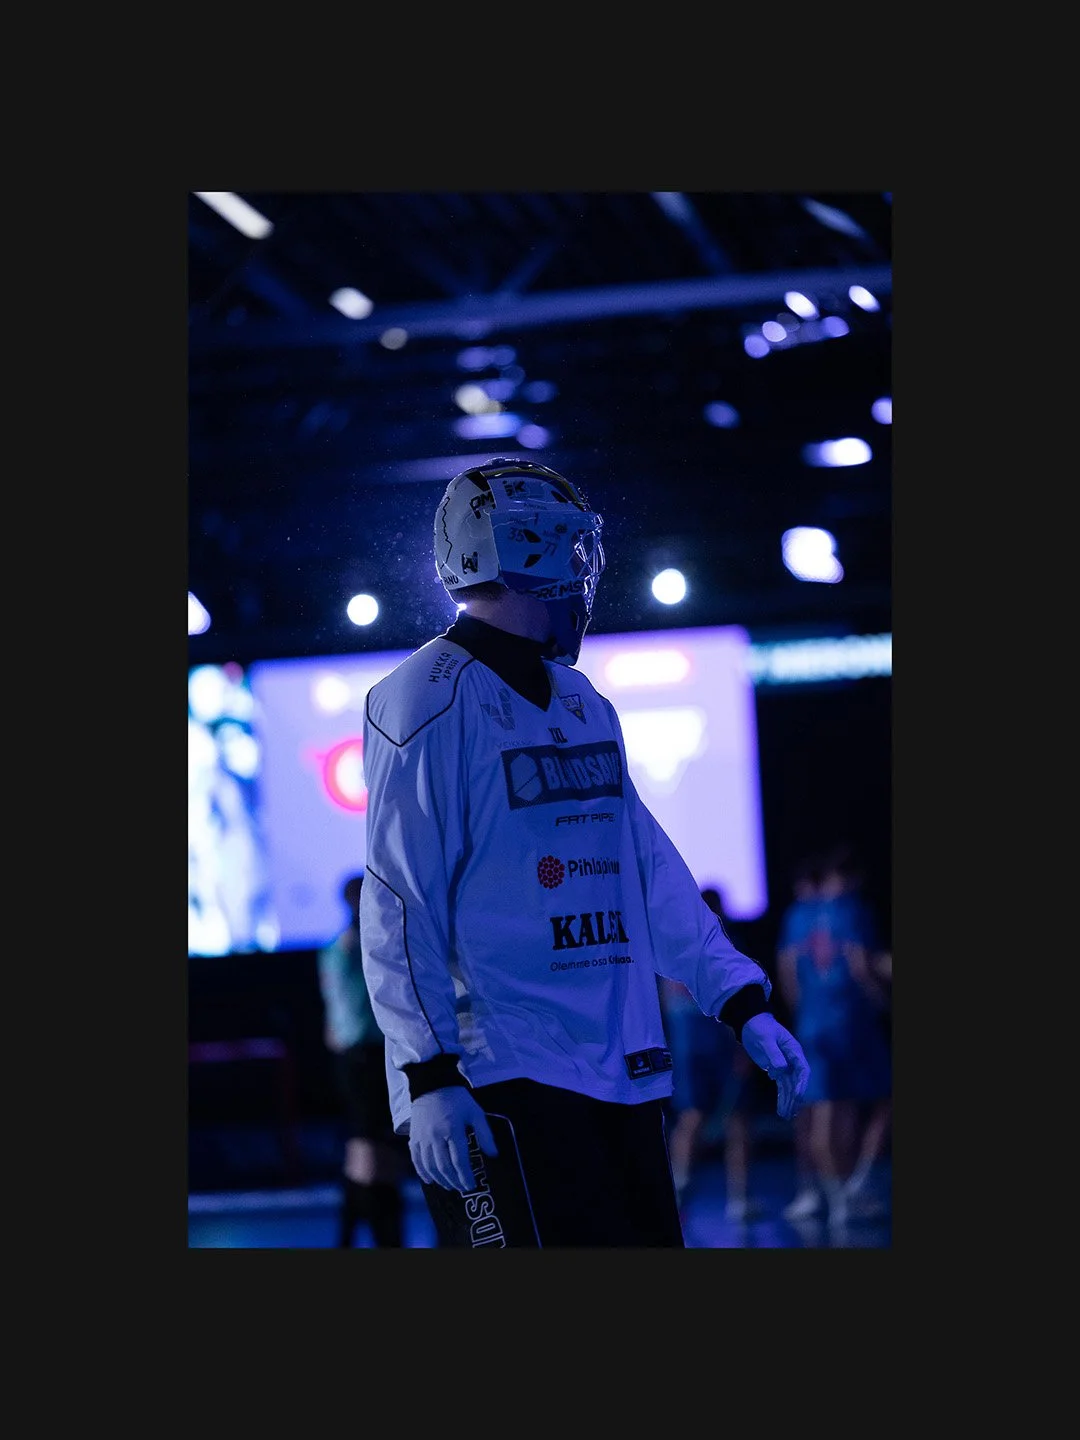
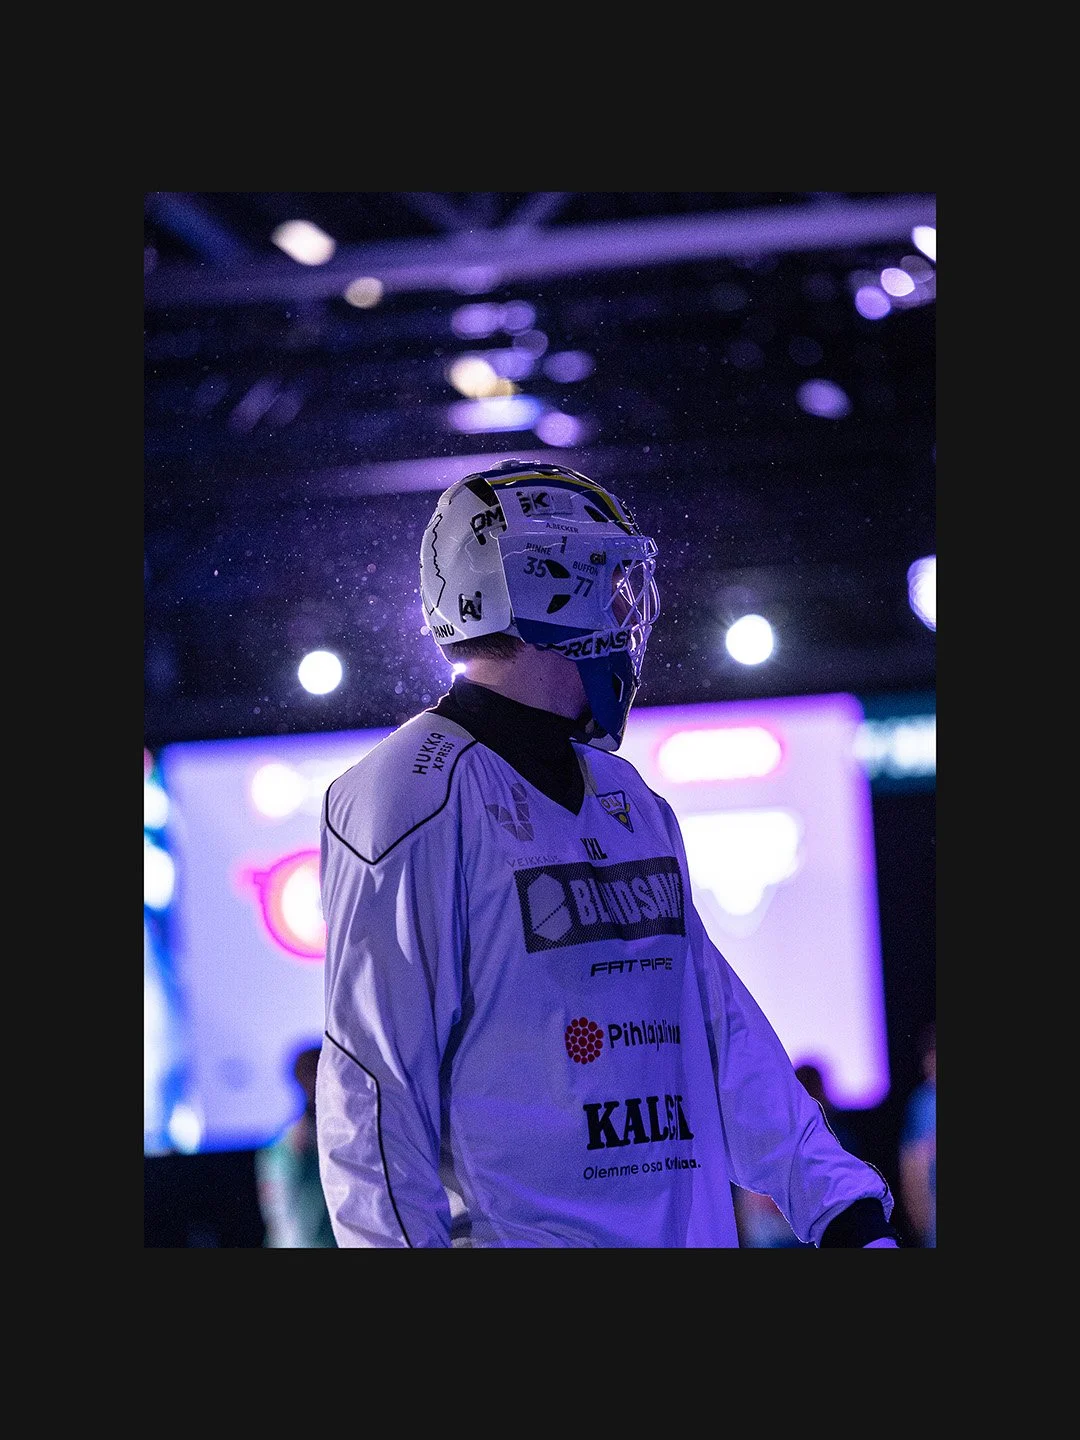
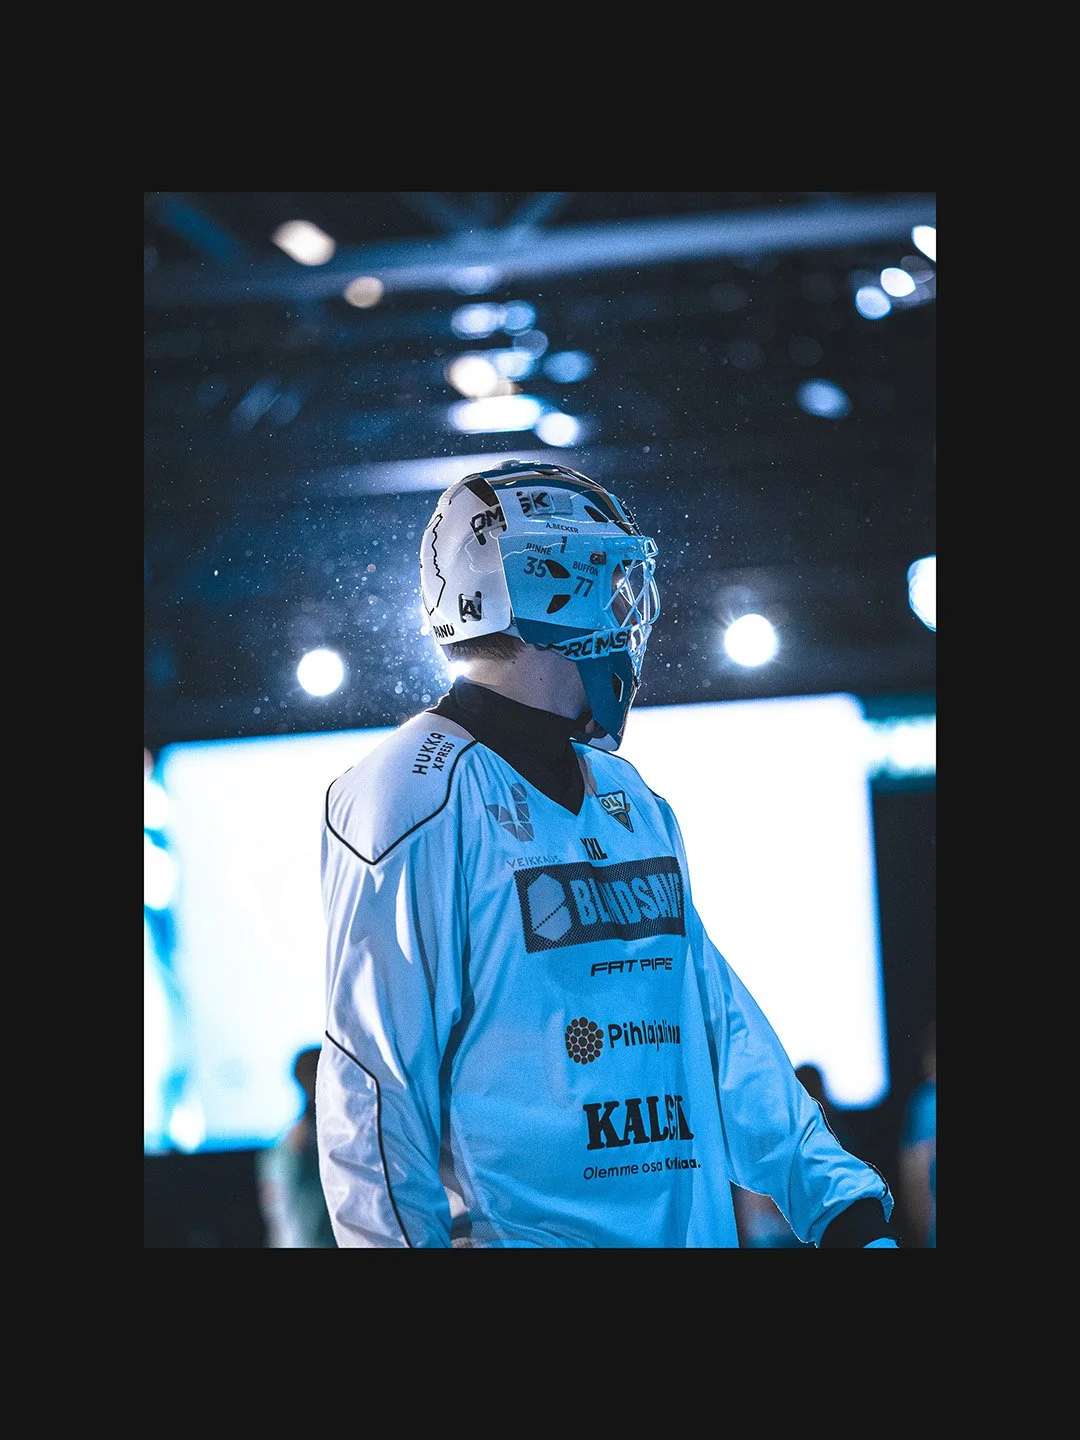
Original
raw-file
Shuter speed: 1/1000
aperture: f/2.8
iso: 6400
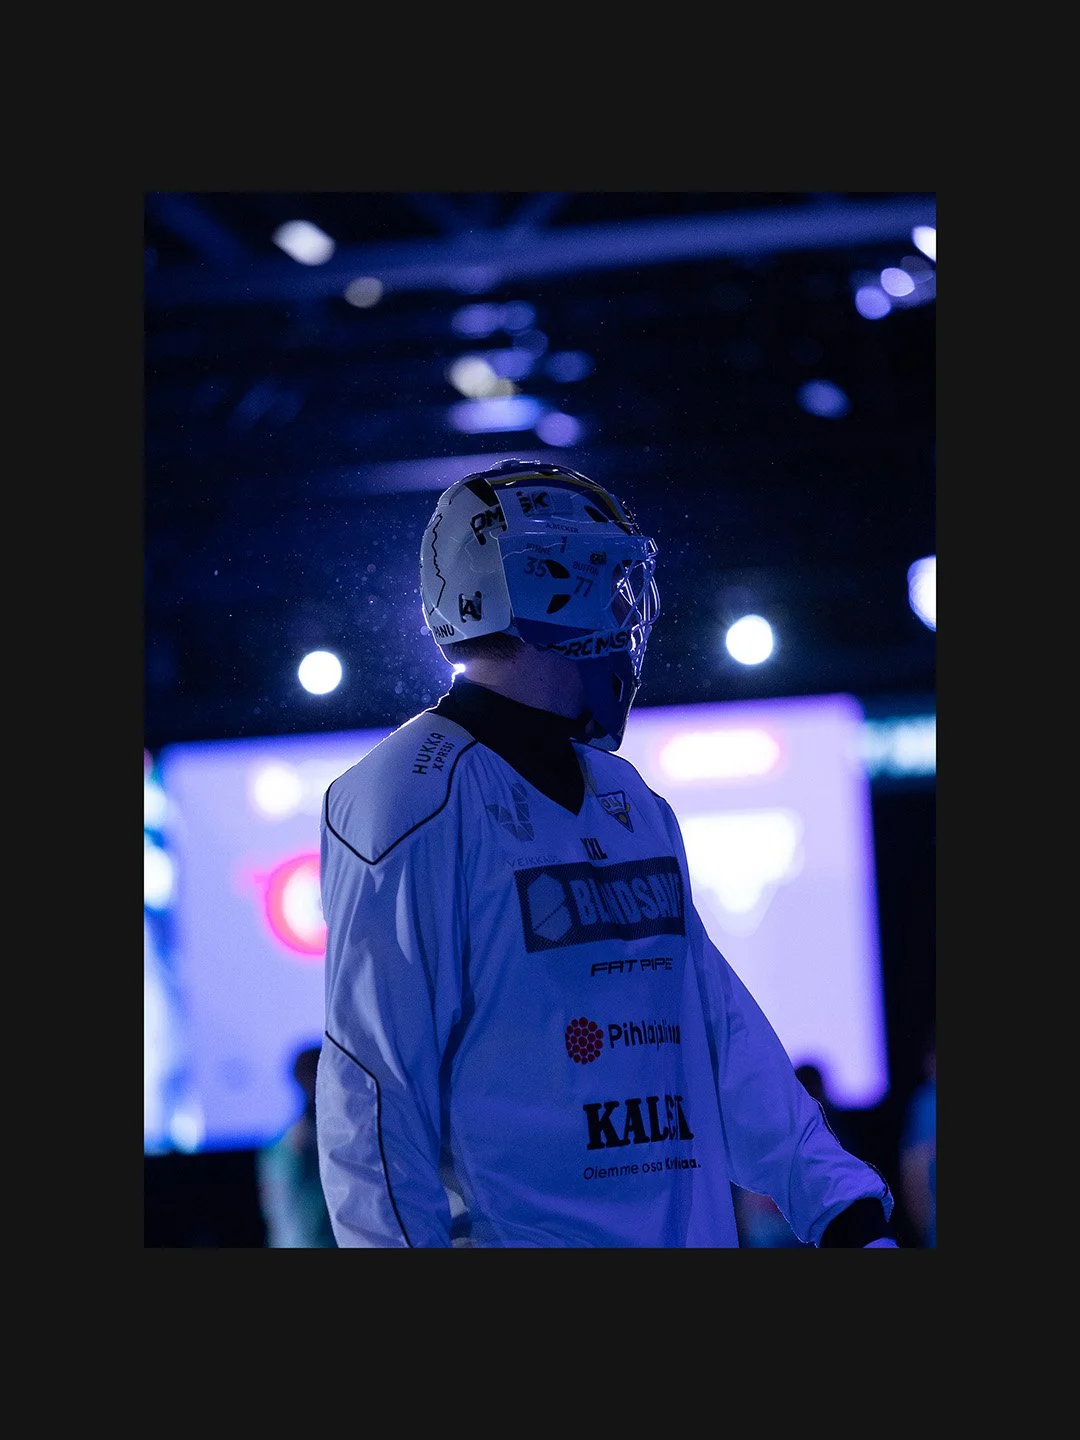
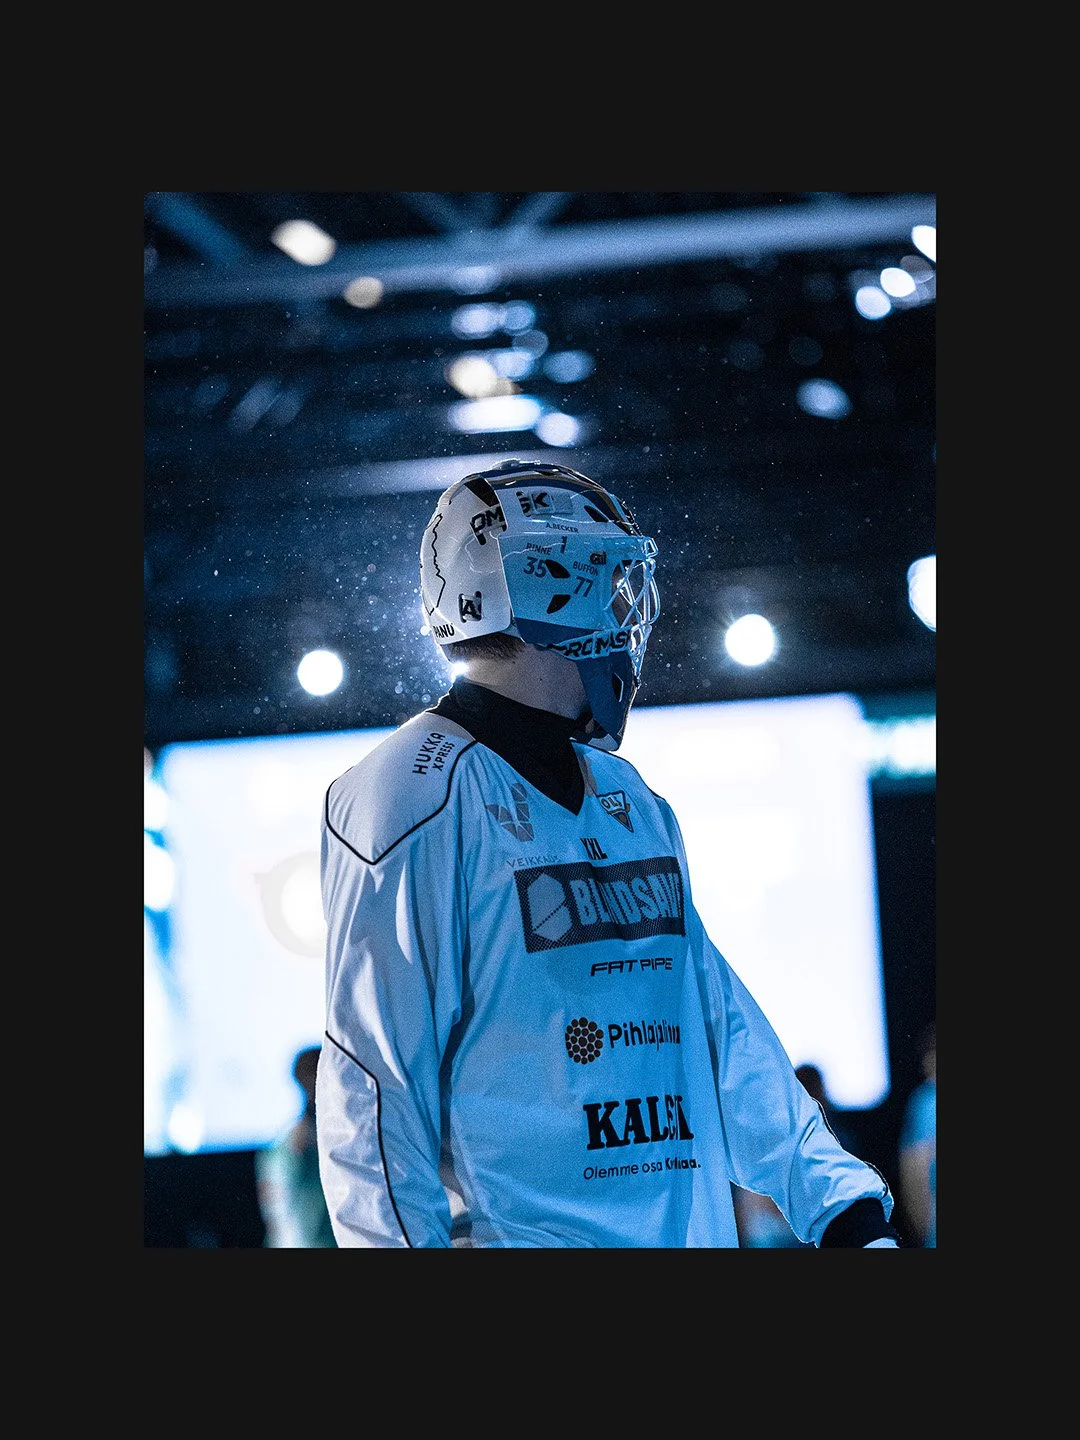
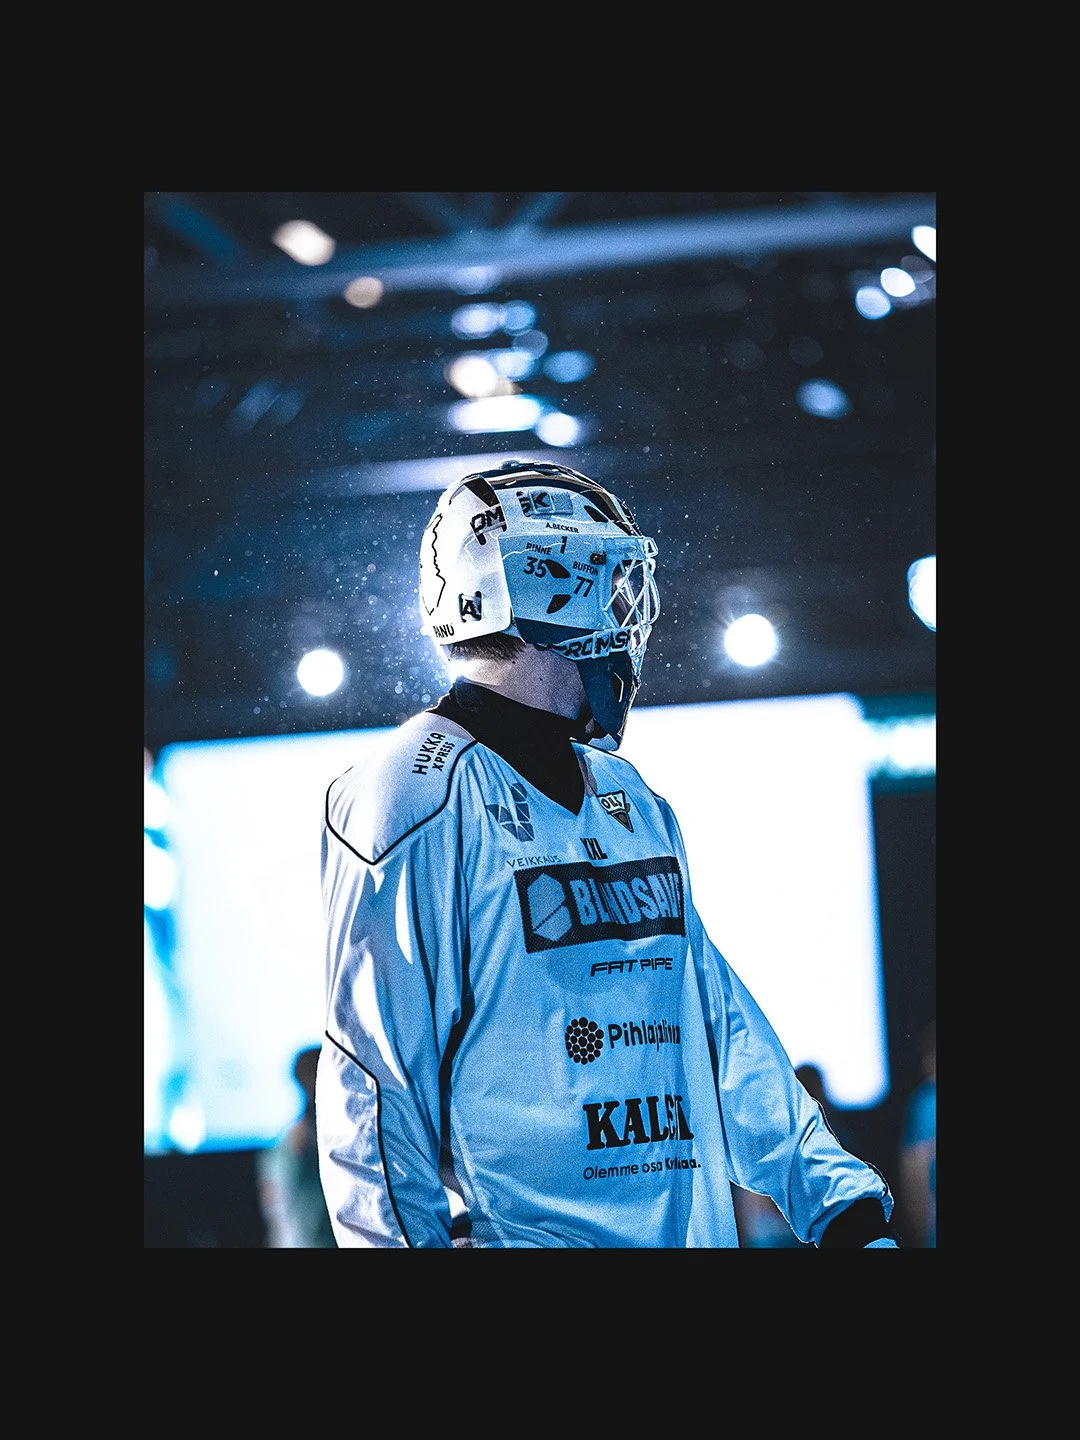
1. crop
Crop the image
aspect ratio 3:4
lightroom
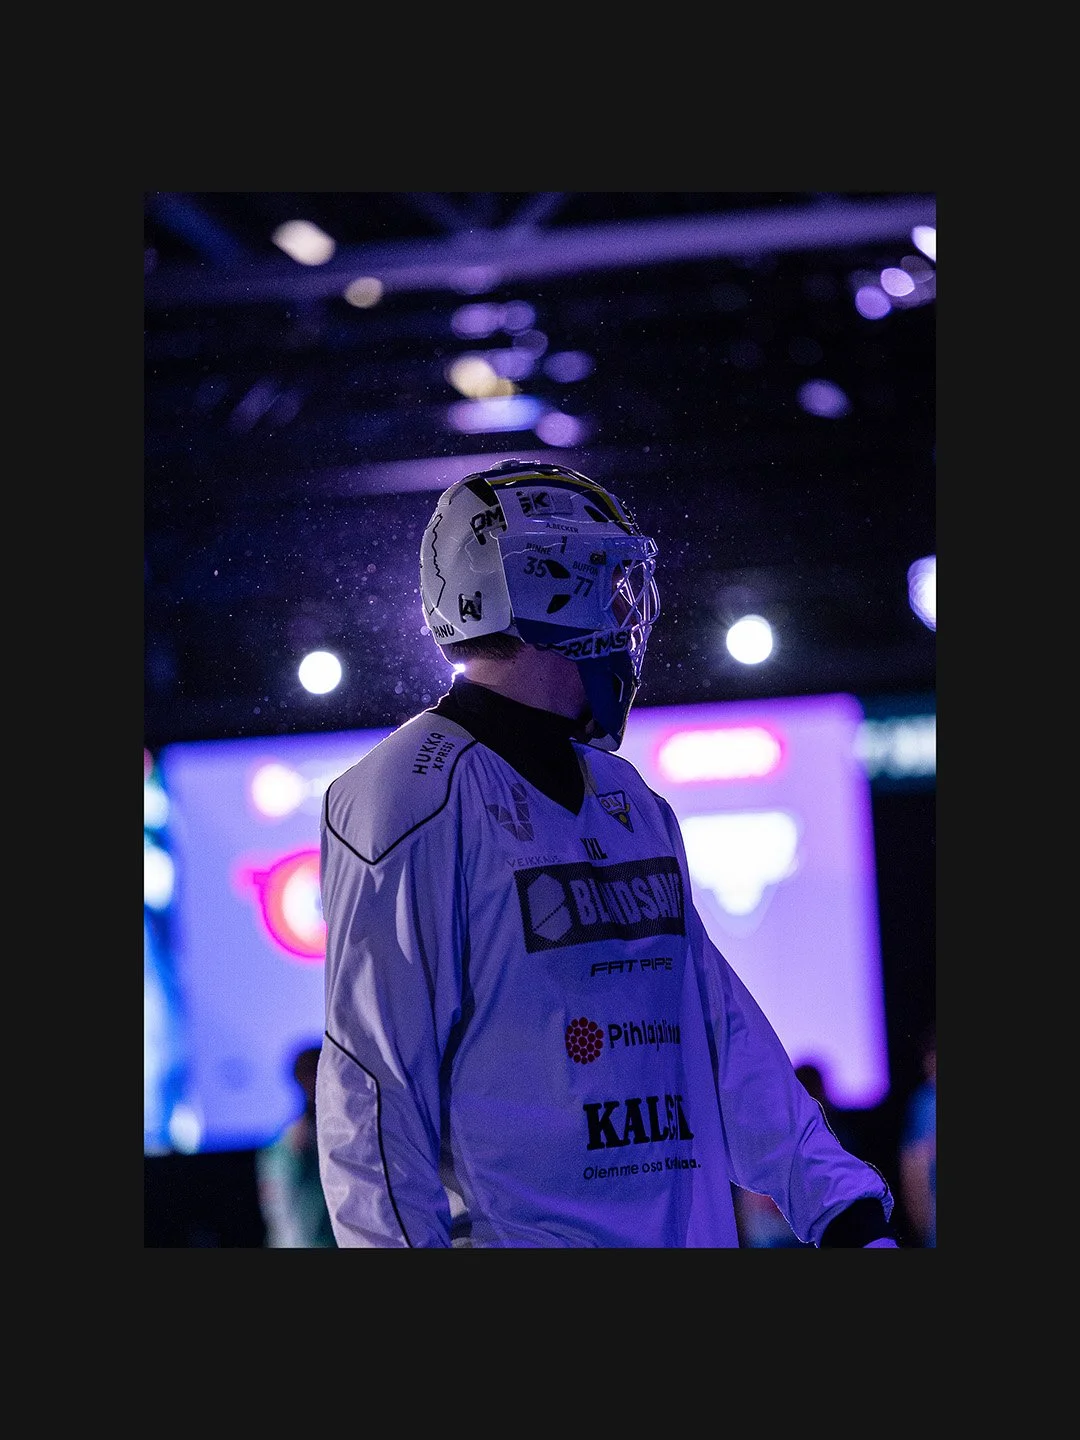
2. basic
temp: 5500
tint: +8
contrast: +10
highlights: -13
shadows: +9
blacks: +10
texture: +20
clarity: +30
vibrance: +10
saturation: +10
lightroom
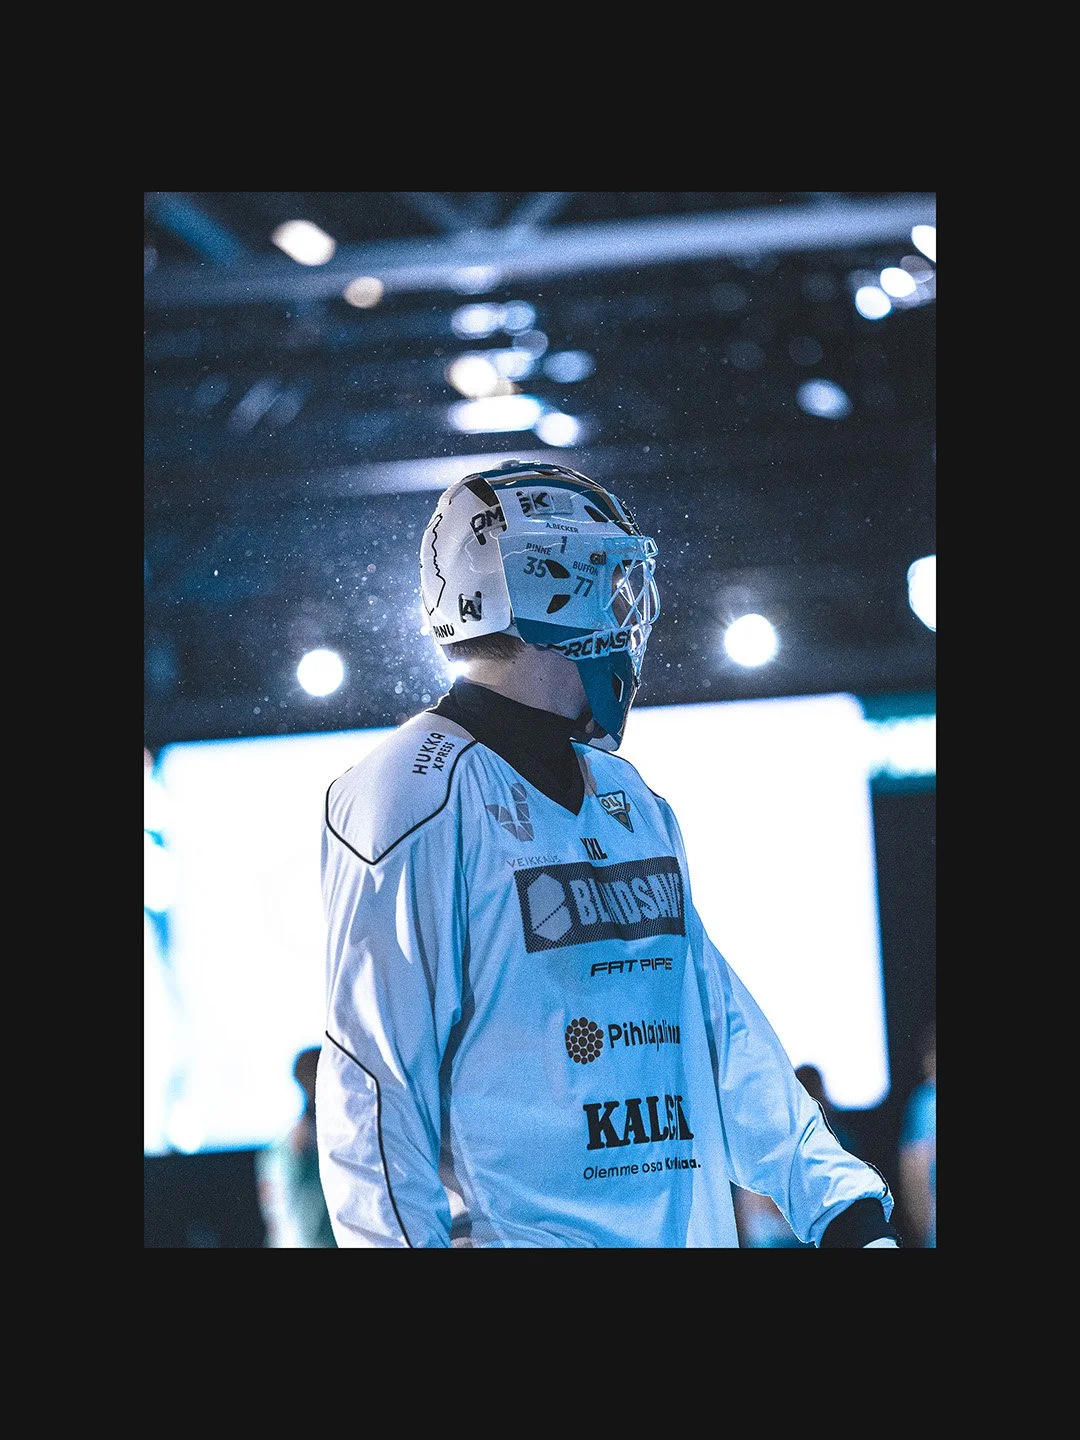
3. tone curve
lights: +40
darks: +20
shadows: +32
lightroom
4. color mixer
hue
blue: -20
purple: -50
magenta: +20
saturation
red: -100
orange: -100
yellow: -100
green: -100
aqua: -100
blue: +6
purple: -81
magenta: -100
luminance
orange: +20
blue: +60
purple: +18
magenta: +10
lightroom
5. color grading
midtones
h: 10
s: 10
l: +100
shadows
h: 0
s: 0
l: +100
highlights
h: 0
s: 0
l: +100
lightroom

6. detail
ai denoise: 20
sharpening
amount: 60
radius: 1,0
Detail: 25
masking: 70
manual noise reduction
color: 25
detail: 50
smoothness: 50
lightroom
7. effects
post-crop vignetting
amount: -20
midpoint: 50
roundness: 0
feather: 50
highlights: 0
lightroom
8. calibration
shadows
tint: +10
blue primary
hue: -5
saturation: +20
lightroom
9. mask 1 (subject)
tone
Contrast: +5
highlights: +20
blacks: -10
curve
point 1: 0/0
point 2: 95/83
point 3: 192/194
point 4: 255/255
effects
texture: 40
clarity: 60
detail
sharpness: 40
lightroom

10. mask 2 (background)
color
saturation: -43
effects
texture: 50
clarity: 40
dehaze: 30
detail
sharpness: 50
lightroom
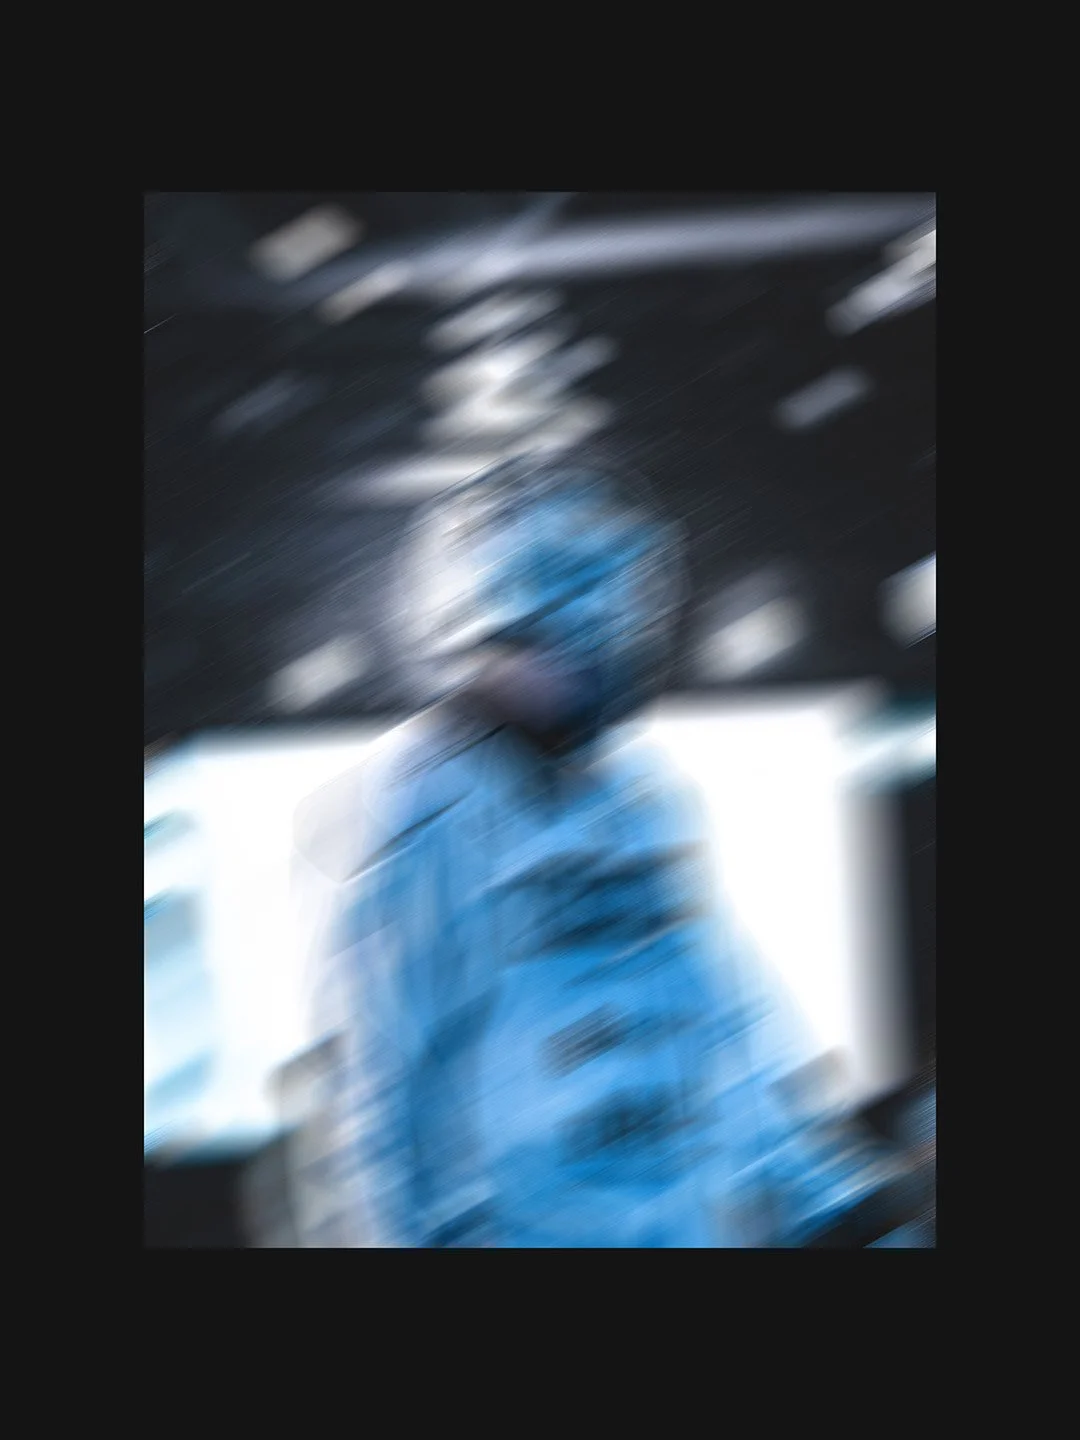
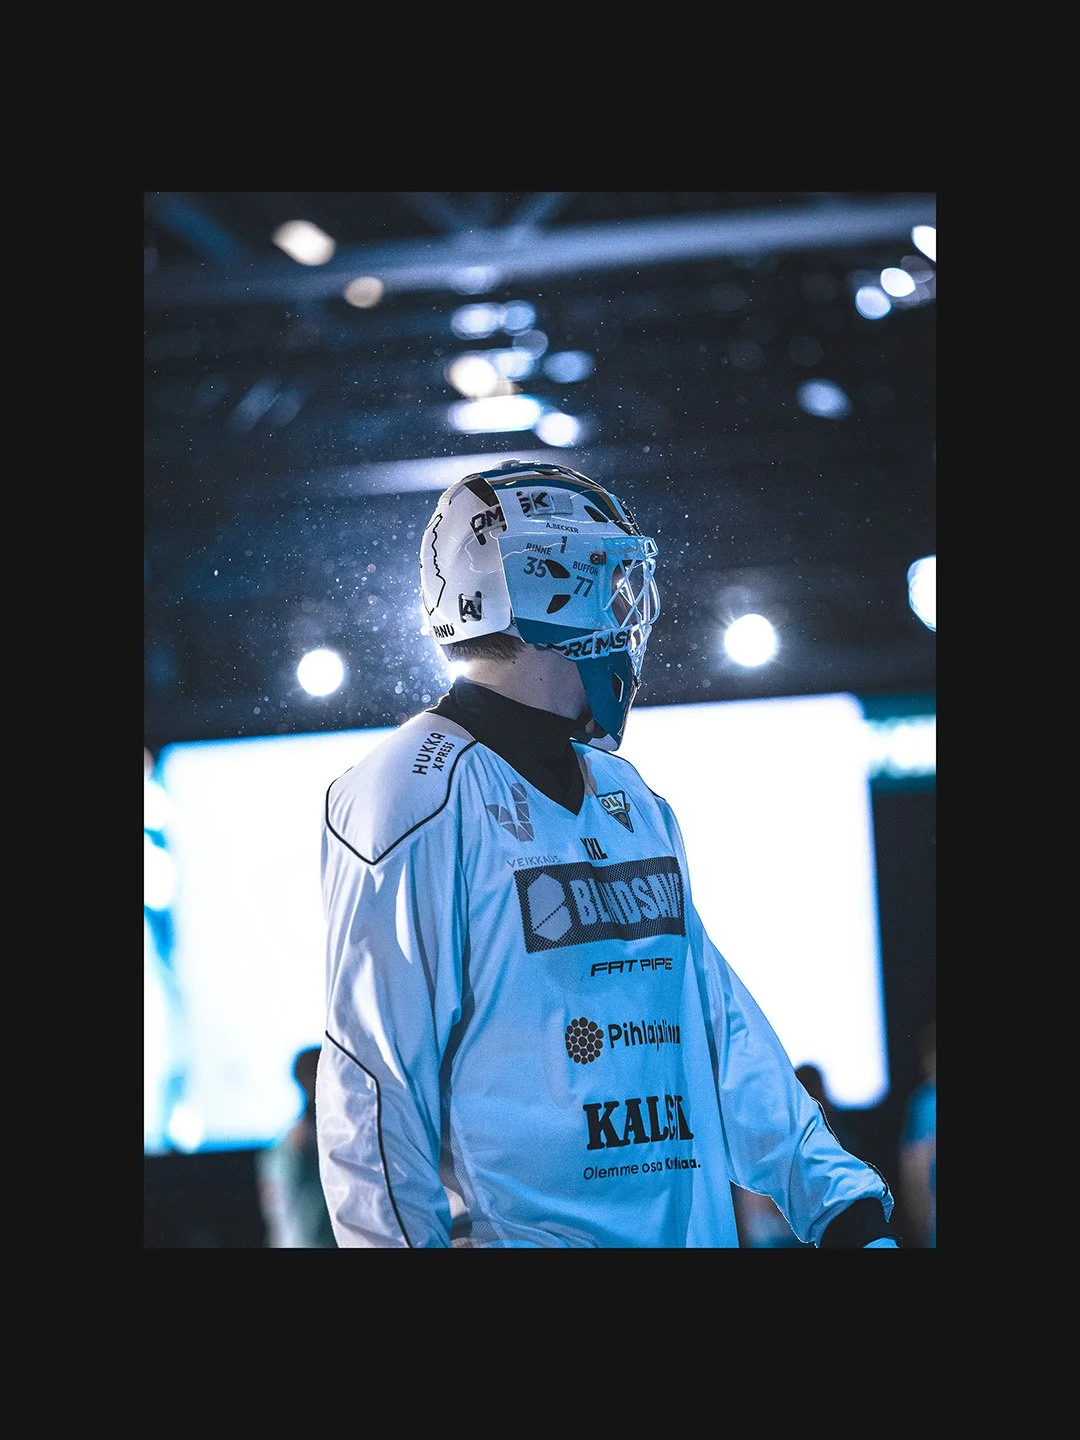
11. motion blur
angle: 30°
distance: 300
photoshop

12. subject mask
mask out the subject so the blur stays just in the background
smart fliter mask
photoshop
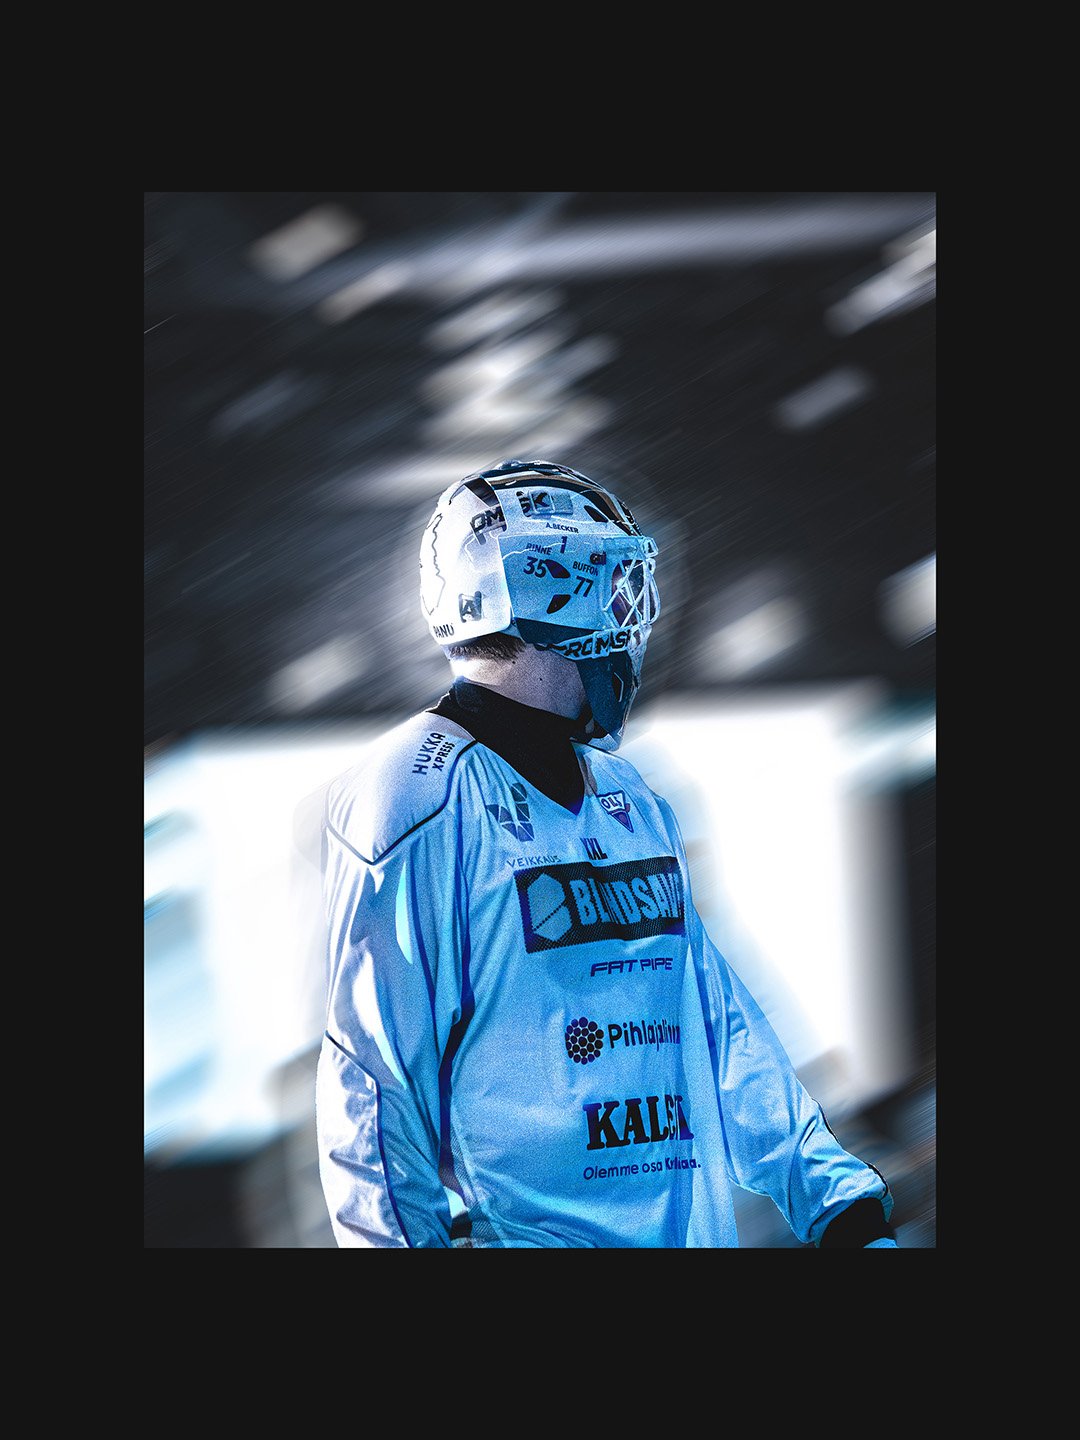
13. pin light layer
copy the image to another layer
move it above the original
clear the smart filter mask
blending mode: pin light
photoshop

14. gradient mask
to the original photo
gradient mask from the bottom right
photoshop

15. camera raw filter
light
contrast: +10
color
vibrance: +10
saturation: +10
effects
texture: +20
clarity: +50
photoshop